How to make a Fancy Letter Style (Step by Step)
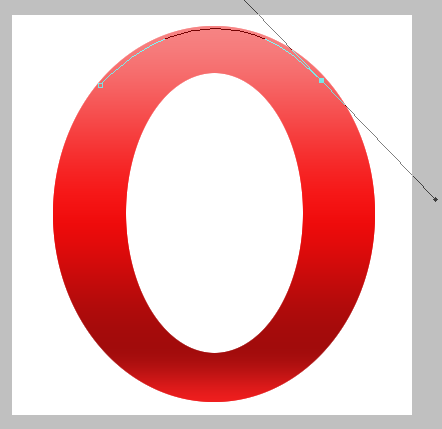
Final Result

Step 1.
First create a new work file, File -> New (Shortcut Key – “Crtl + n”)
Input the following settings | It’s up to you what size you want, as long as you desire.
Width = 400px
Height = 400px
Background = white
Step 2.
Create a new Layer by pressing the layer icon (see the image below).
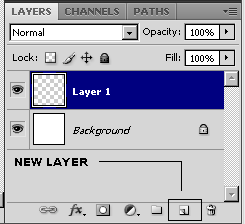
Rename the Layer – “Base Layer”. To rename the layer, just right click to the layer and select layer properties. (see the image below)

Step 3.
Go to the tools panel (left side), and select Elliptical Marquee Tool (M) select the rounded shape (see the image below)
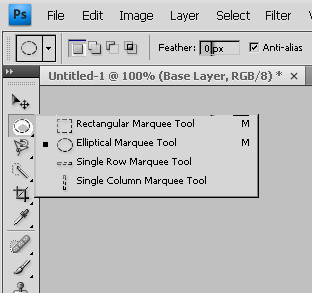
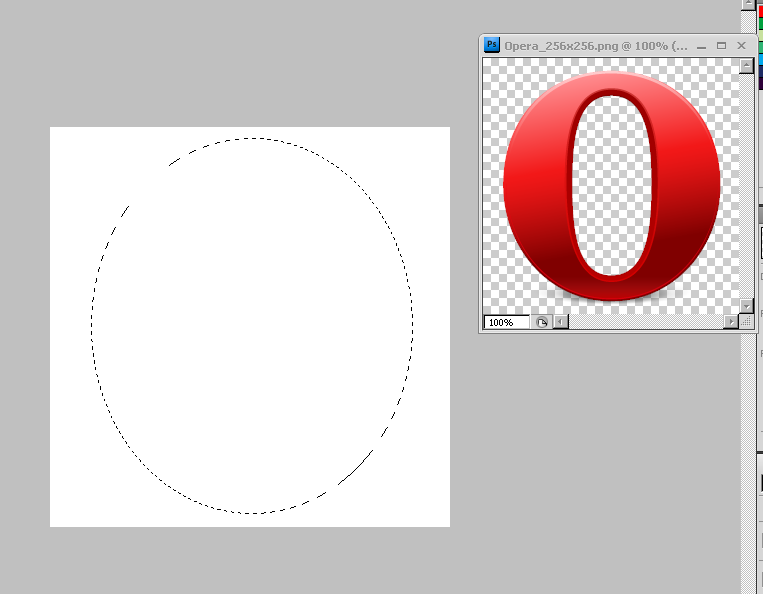
Now draw a spheroid shape, you must focus the detailed image (see the image below) – (active layer: Base Layer)
Step 4
Right click on the selected work layer, and select fill. (see the image below)
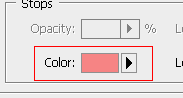
In the Contents, use the Color style
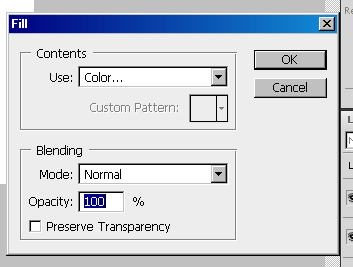
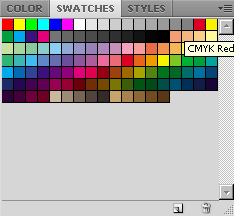
Now pick a color, it should be in the upper most right part (see the image below)

Click the Ok to filled the selected area.
Step 5.
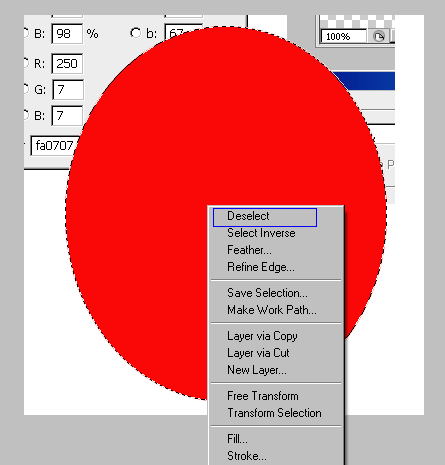
In the working area, right click and select the Deselect to delete the working paths.(see the image below)
Step 6.
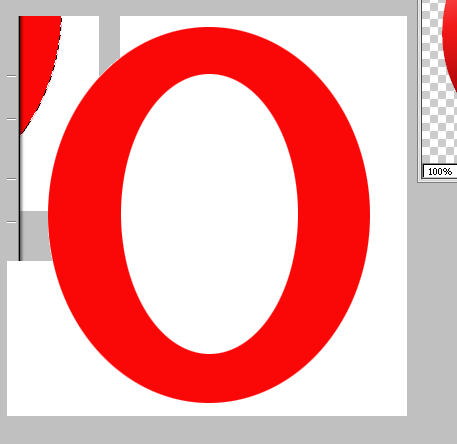
In the panel tools, select again the elliptical marquee tool (m) and draw in the center vertical oblong shape, after creating, press Crtl + x and right click and select the deselect to delete the selecting path. (see the image below)
Step 6.
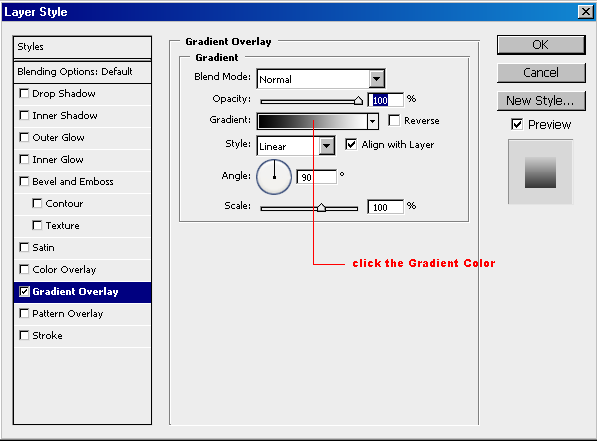
In the Base Layer, right click and select the Blending Options.
In the Layer Style, select the Gradient Overlay and Enter the following values. (follow the illustration below)
Click the Gradient Color
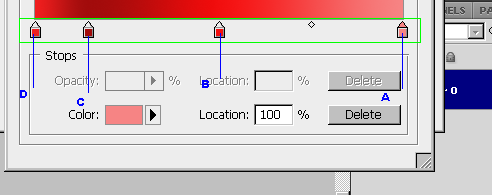
Enter the following values
To navigate the proper instructions, I create a set color group I label it A B C D
To create a set, just click in the lower part – the green selected. (see the image below)
Step 7.
A.
Click the set A, and click the Color
And enter the values
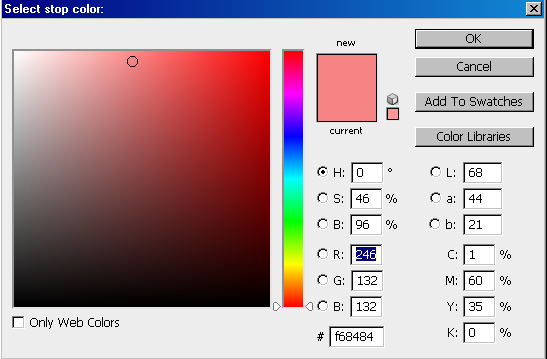
And click Ok.
B.
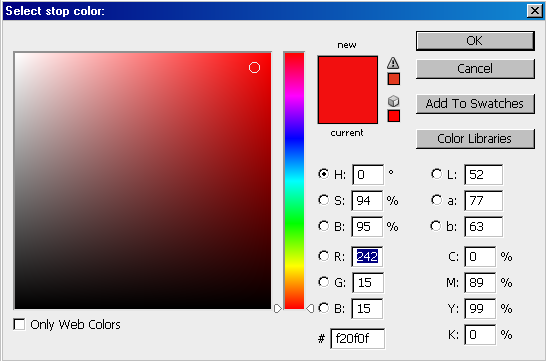
Click the set B, and click the Color. Enter the following values.
C.
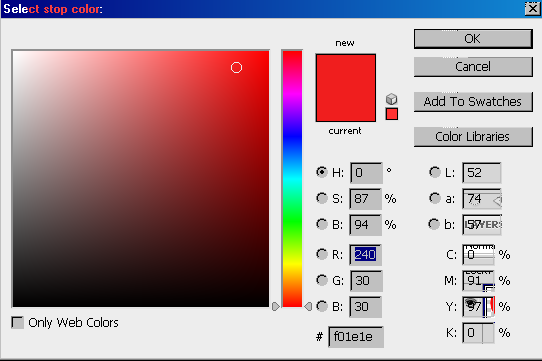
Click the set C, and click the Color. Enter the following values.
#a20b0b
D.
Click the set D, and click the Color. Enter the following values.
The image should be like this

Step 8.
In the Base Layer, right click to and select Duplicate Layer and create a new Layer, name it “Lines”.
Now select the Pen Tool (P) and draw like the image below
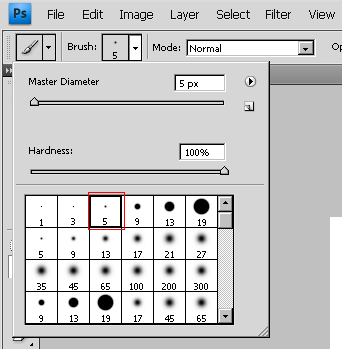
Before we stroke the path, we should set the brush. Click the Brush Tool(B) and set it. (see the image below)
Back to the Pen Tool, and set the color with white by selecting the to the color swatches point it to the working area and right click select stroke path select Brush and check the Simulate Pressure and hit Ok. Right click and then select the Delete Path.
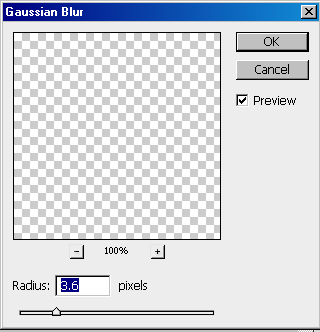
Now go to Filter select Blue – Gasssian Blur and enter the following settings.
The image should look like this

Back again select the Pen Tool(P) and select
And draw to the bottom, like I did in the previous step.
The image should look like this

Step 9.
Back to your Base Layer Copy right click and select Blending Options check the Bevel and Emboss and enter the following settings.
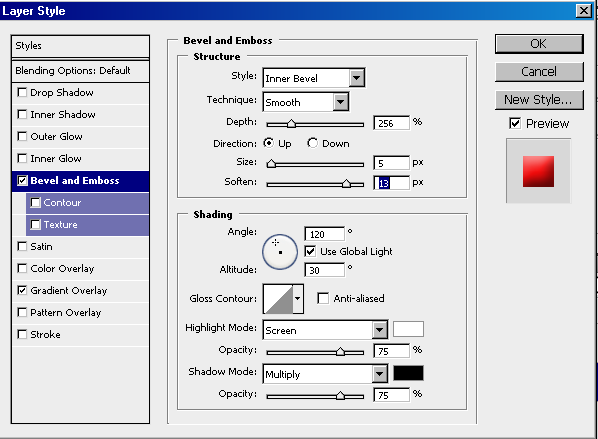
And click ok.
Step 10
Back to the Layer Lines, and draw like I did in step 8.(see the image below.)

In the lines Layer, navigate Filter – Blur – Gassian Blur and set the following settings.
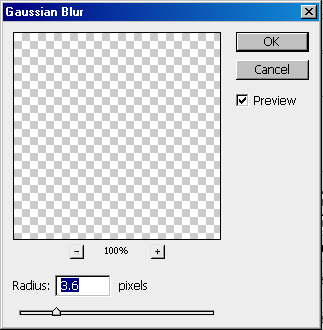
The image should look like this. And you are done.
If you have some great questions, don’t hesitate to leave a message J
0 comments:
Post a Comment